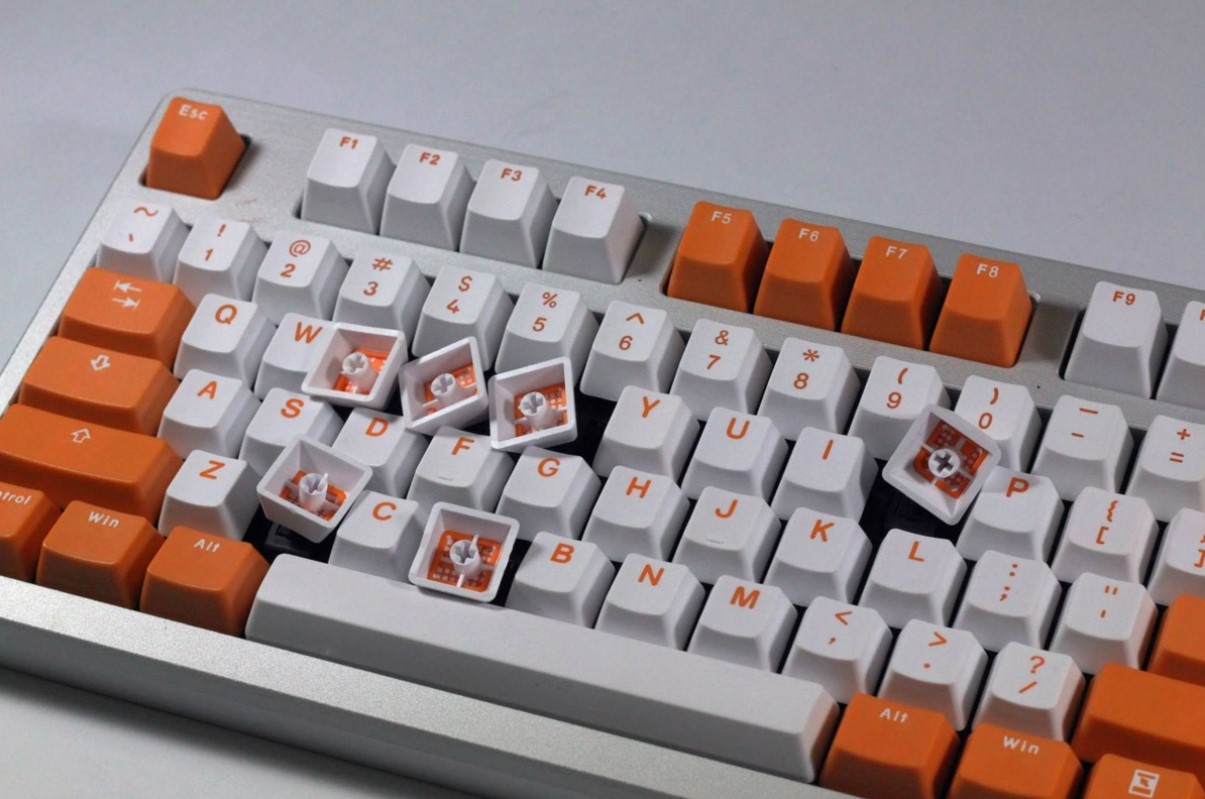
Cleaning Your Laptop Keyboard: A Step-by-Step Guide
A pristine laptop keyboard not only enhances the overall aesthetics of your device but also ensures smooth and error-free typing. Over time, dust, crumbs, and debris can accumulate between the keys, affecting performance. In this comprehensive guide, we’ll walk you through the step-by-step process of cleaning your laptop keyboard effectively.
Materials You’ll Need:
Before you begin, gather the following materials:
- Isopropyl alcohol or keyboard cleaning solution
- Cotton swabs or a soft, lint-free cloth
- Compressed air can or keyboard cleaning brush
- A small bowl for the cleaning solution (if using alcohol)
Step 1: Power Off and Unplug Your Laptop
Before you start cleaning, make sure to power off your laptop and unplug it from any power source. This ensures safety and prevents any accidental damage.
Step 2: Remove Loose Debris
Turn your laptop upside down and gently tap the back to dislodge any loose debris. Use a can of compressed air or a keyboard cleaning brush to carefully remove larger particles.
Step 3: Prepare the Cleaning Solution
If using isopropyl alcohol, mix a small amount with water in a bowl (approximately a 1:1 ratio). Dampen a cotton swab or cloth slightly. If you’re using a specialized keyboard cleaning solution, follow the manufacturer’s instructions.
Step 4: Clean the Keys
Dip the cotton swab or cloth into the cleaning solution. Wring out any excess liquid to avoid dripping. Gently clean each key, paying special attention to heavily used keys like Enter, Spacebar, and Shift. For stubborn spots, apply a little more pressure, but be cautious not to use excessive force.
Step 5: Clean Between the Keys
Fold the cloth or use a fresh cotton swab to clean between the keys. If necessary, use compressed air to blow out any remaining debris.
Step 6: Address Sticky or Stuck Keys
For keys that are sticking, use a cotton swab slightly dampened with the cleaning solution to clean around the edges of the affected key. Gently press and release the key several times to ensure proper contact.
Step 7: Let Your Keyboard Dry
Allow your laptop keyboard to air dry for at least 10-15 minutes. Ensure that it’s completely dry before powering your laptop back on.
Additional Tips:
- Avoid using excessive liquid. Damp, not dripping, is the key.
- For stubborn spots, a soft-bristle toothbrush can be effective.
- If you’re using a specialized keyboard cleaning solution, follow the instructions on the product label.
Conclusion: A Refreshed Keyboard for Optimal Performance
Regularly cleaning your laptop keyboard not only maintains its appearance but also ensures smooth functionality. With a few simple tools and a little care, you can keep your keyboard in top condition for years to come. Make keyboard cleaning a part of your regular device maintenance routine, and enjoy a refreshed typing experience every time you use your laptop.

