DIY Sound Dampers: A Comprehensive Guide to Customizing Your Keyboard’s Noise Reduction
Welcome to keycapcustom.com, your ultimate resource for keyboard customization and optimization. In this detailed article, we will delve into the world of DIY sound dampers and provide you with a comprehensive guide to customizing your keyboard’s noise reduction. Whether you’re a seasoned DIY enthusiast or new to the world of keyboard modifications, this extensive guide will equip you with the knowledge and skills to transform your keyboard into a quieter and more enjoyable typing machine. Join us as we unlock the secrets of DIY sound dampers and empower you to take control of your keyboard’s acoustics like never before.

Understanding Sound Dampers
Sound dampers, also known as silencing rings or O-rings, are small accessories that can be added to mechanical keyboard switches to reduce the noise generated during typing. While pre-made sound dampers are readily available, the DIY approach offers the flexibility to customize the materials, thickness, and installation process according to your preferences and keyboard setup.
Materials Needed
Before we dive into the step-by-step guide, gather the following materials for your DIY sound dampers:
- O-ring material: Choose a suitable material for your dampers, such as rubber or silicone. O-rings are available in various thicknesses and durometers, allowing you to tailor the level of noise reduction and key feel to your liking.
- Keycap puller: A keycap puller is an essential tool for removing keycaps from your keyboard to access the switches. It ensures a safe and hassle-free keycap removal process.
- Tweezers or small pliers: These tools will come in handy for handling and installing the O-rings onto the switches, ensuring precise and accurate placement.
Step-by-Step Guide to DIY Sound Dampers
Step 1: Preparation Begin by powering down your computer and disconnecting your keyboard. This ensures a safe and uninterrupted DIY process.
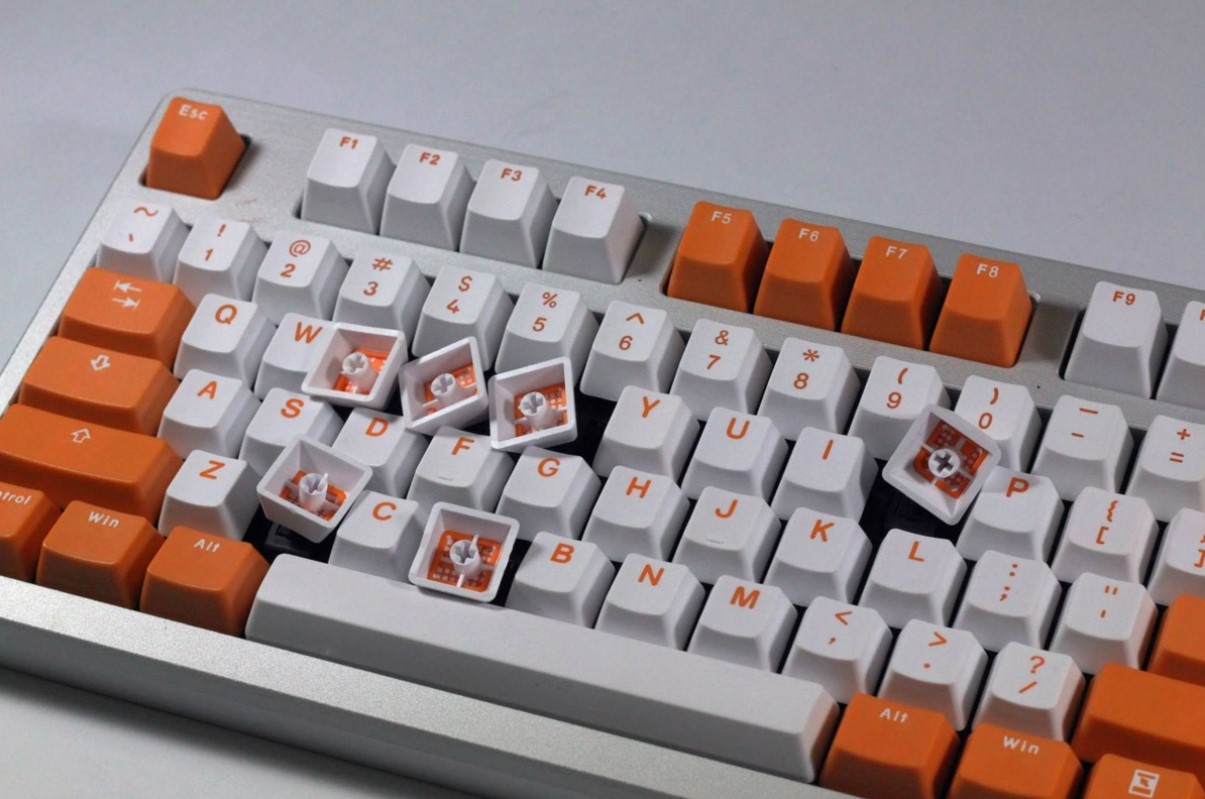
Step 2: Keycap Removal Use a keycap puller to gently remove the keycaps from your keyboard. Take care not to exert excessive force to avoid damaging the switches or keycaps. Place the keycaps in a safe and organized manner to facilitate reinstallation later.
Step 3: O-ring Selection Choose the appropriate thickness and durometer of O-rings based on your desired level of noise reduction and key feel. Thicker O-rings provide more sound dampening, while softer durometers offer a cushioned typing experience. Consider experimenting with different combinations to find the perfect balance for your preferences.
Step 4: O-ring Installation Using tweezers or small pliers, carefully place the O-rings around the stems of each switch. Ensure that the O-rings are properly seated and evenly aligned to maintain consistency across all switches. Take your time during this step to achieve optimal results.
Step 5: Keycap Reinstallation Once the O-rings are in place, carefully reattach the keycaps onto the switches. Ensure that they are properly aligned and seated. Apply gentle and even pressure to secure them in place, ensuring a uniform and comfortable typing experience.
Step 6: Testing and Fine-Tuning Reconnect your keyboard to your computer and power it on. Test the keys to experience the reduced noise level and altered key feel. Take note of any adjustments or fine-tuning you may want to make. Consider experimenting with different thicknesses or durometers of O-rings to further customize the sound and feel to your liking.
Conclusion
DIY sound dampers offer an exciting opportunity to customize your keyboard’s noise reduction according to your preferences and typing style. By following this comprehensive guide, you can embark on a rewarding DIY journey, transforming your keyboard into a quieter and more enjoyable typing experience. Remember to carefully select the appropriate O-ring material, ensure precise installation, and fine-tune the sound and feel to your liking. At keycapcustom.com, we provide a wide range of DIY sound damper materials and accessories to support your customization endeavors. Explore our collection today and embark on your DIY sound damper adventure, taking control of your keyboard’s acoustics one key at a time. Elevate your typing experience with DIY sound dampers and enjoy a quieter and more enjoyable keyboard journey like never before.

