Guide To Cleaning Mechanical Keyboard Switches
If you use a mechanical keyboard on a daily basis, whether for pleasure or for comfort, you should get into the practice of cleaning mechanical keyboard.

This is not only for sanitary grounds, but also for economical ones. If you maintain a regular cleaning schedule, your keyboard will last as long as feasible. If you’re not sure how, why, or when to clean mechanical keyboard switches, you’ve come to the correct spot. This page contains all of the solutions:
What are Mechanical Keyboard Switches?
Mechanical keyboards use a physical switch under each key to determine when a key has been pressed. A laptop keyboard may have nothing but just a little pressure pad under each key, or an old USB keyboard may use little poppers to determine presses. These are not as effective or resilient as a mechanical keyboard.
When you press a key, the switch is flipped, and a signal is then sent to your pc to inform it of the press. This is why there is click-clack noise when typing on a proper mechanical keyboard. There is no right or wrong keyboard to use, it is all based on preference. If there was an argument to be made, mechanical keyboards would win.

>> Read more: Keyboard Switch Comparison: Linear Switch, Tactile Switch and Clicky Switch
Why is it necessary to clean mechanical keyboard switches?
The benefit of using a mechanical keyboard is that it is considerably more durable than alternatives. The switches are not going to wear out or break very soon. The actual issue is the accumulation of dust and dirt. Dust and dirt will not harm your keys, but it will make them less sensitive and more prone to jamming.
A mechanical keyboard is designed to be both pleasant and speedy to type on. If dirt causes keys to stick or become less sensitive, the entire purpose is defeated. Furthermore, keeping them as clean as possible is more sanitary. If you drop a drink or any food on your keyboard, you should clean it up right away. For starters, there’s the icky factor. Second, germs and mold may make you sick and harm your keyboard. Mold and fungus would begin to eat away at the switch components and internal wiring.

How Often Should Switches Be Cleaned?
Once a week, give your keyboard a quick wipe down with a towel. Yes, you read it correctly, once a week. It simply takes a minute or two and is essential for maintaining your keyboard in good working order.
Once a month is an excellent time to do a more thorough cleaning. This entails obtaining a can of compressed air as well as a rubbing alcohol solution. You may use a spray bottle to remove the dust and dirt and disinfect the keys.
It is a good idea to deep clean your mechanical keyboard at least once every three months. This entails disassembling it, thoroughly cleaning it, and then reassembling it. This is also an excellent time to do any essential repairs.
How Should Mechanical Switches Be Cleaned?
It is critical to follow this step-by-step tutorial in its entirety; otherwise, you risk making a mistake. Cleaning a keyboard is not difficult; all it takes is a little know-how and patience.
It’s a good thing you chose to conduct some research before attempting to accomplish it. Some individuals become too involved with these things and make terrible blunders, such as cleaning a circuit board with acetone.
Anyway, I’m digressing. Here are the measures to take to guarantee your keyboard is as good as new:
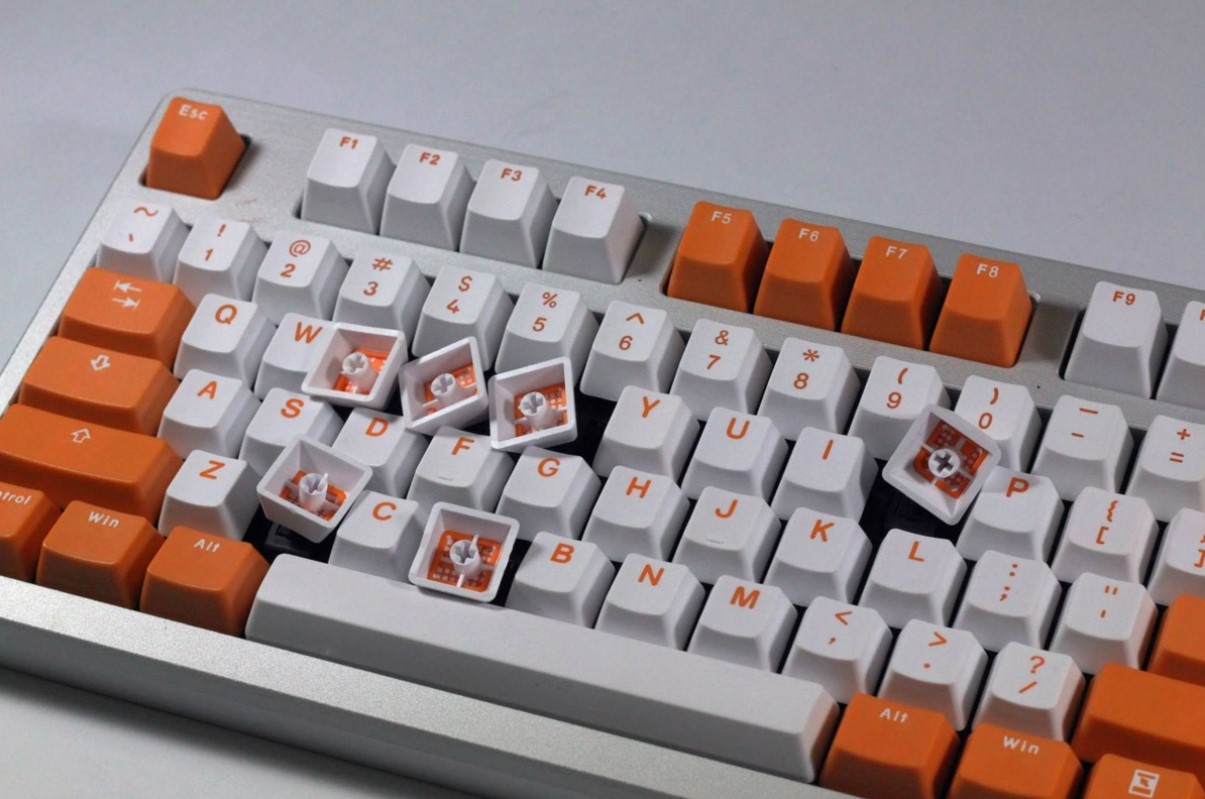
Remove the keycaps:
You must first remove the keycaps. This is simple enough; they just snap right off. It’s a good idea to collect them all in a bowl so you don’t lose any of them. You may also use a wet cloth to clean both sides of the keycaps. You might want to spray some compressed air inside each key, even if it isn’t extremely dirty.
Air that has been compressed:
After you’ve removed the keys, use your compressed air can to spray in all the cracks and crevices. Spray up and down the rows of keys to grab them from every angle. If you hold the nozzle too near to the keyboard, you risk damaging the switch.
Make use of a nylon brush:
You may remove any harder dirt and grime that the air couldn’t get rid of by wiping it away with a tiny nylon brush. Take your time to remove any sticky debris and then wipe it away. If your brush becomes too filthy, clean it off with a wet towel.
Using a moistened cloth and a cleaning solution, wipe off the following surfaces:
Dampen a NEW cloth with a premixed alcohol and water solution. Gently brush this cloth across the whole keyboard. If you use too much alcohol, it will degrade the paint/plastic on your keyboard.
Stabilizers should be cleaned and lubricated as follows:
The keys are held in position by the stabilizers. As dust and filth accumulate, they are prone to being trapped or worn down. It is just as vital to maintain them clean as it is to preserve the keys and switches themselves.
Allow to dry:
Allow the alcohol solution to dry naturally. Simply exposing it to air will cause it to dry over time. It will just take around an hour. When it’s completely dry, wipe it down with a dry towel one last time. If it’s moist, you’ll have to wait for it to dry again.
Install keycaps as follows:
Finally, it’s time to replace the keycaps. Make certain that you put them on correctly. Copy a keyboard schematic from the internet. Take a photo of your keyboard before you begin so you can remember where everything goes.
Cleaning mechanical switches in a nutshell:
- Take off the keycaps.
- Compressed air should be used to blast every crack and crevice.
- For the heavier gunk, use a nylon brush.
- Wipe down with a moistened towel dipped in a cleaning solution.
- Stabilizers should be cleaned and lubricated.
- Allow it to air dry for approximately an hour.
- Wipe it down with a dry towel one last time.
- Replace the keycaps.
Liquid Spilled on Mechanical Keyboard
That is the absolute worst. If this has occurred to you and you are looking for a quick cleaning technique, you must watch this video! Cleaning your mechanical keyboard switches with Purell hand sanitizer appears to be an option!
Conclusion:
You now have all of the information you need to maintain your mechanical keyboard clean. Cleaning your keyboard is not the most enjoyable task, but it must be completed. Having many sets of keycaps is a wonderful way to keep things interesting. Swap the caps every time you wipe the keyboard. This keeps things exciting and fresh.
Wanna see more beautiful and reasonable custom keycaps? Visit our website https://keycapscustom.com/.