Tips And Tricks Of How To Change Keycaps On A Keyboard
This guide provides step-by-step instructions of how to change keycaps on your keyboard, whether you’ve just purchased a new set and need installation guidance, or you’re exploring the process before making a potential purchase. While changing keycaps is not a difficult task, it may take around 30-45 minutes for a full-sized keyboard, and less time for a smaller keyboard.
Reconnecting the stabilizers (stabs) is the most challenging aspect of the process, but it’s manageable once you figure out the easiest way to do it. It takes only a few seconds per stabilizer.
If you’re not intimidated by the process so far and want to learn how to customize your keyboard by making it blank, upgrading keycaps, or replacing worn-out ones, follow this guide. You might even discover a new hobby you’ll enjoy!
Here are the revised steps of how to change your keycaps on a keyboard:
- Take off the keycaps from your keyboard, which should take around 10-15 minutes.
- Use an air duster to spray on the switches and wipe them with a micro cloth to clean any dirt, which should take about 5 minutes.
- Connect the large keys with stabilizers, which should take between 5-10 minutes.
- Add the remaining keys to your keyboard, which should take 10-20 minutes.
- Experience your new and improved typing experience!

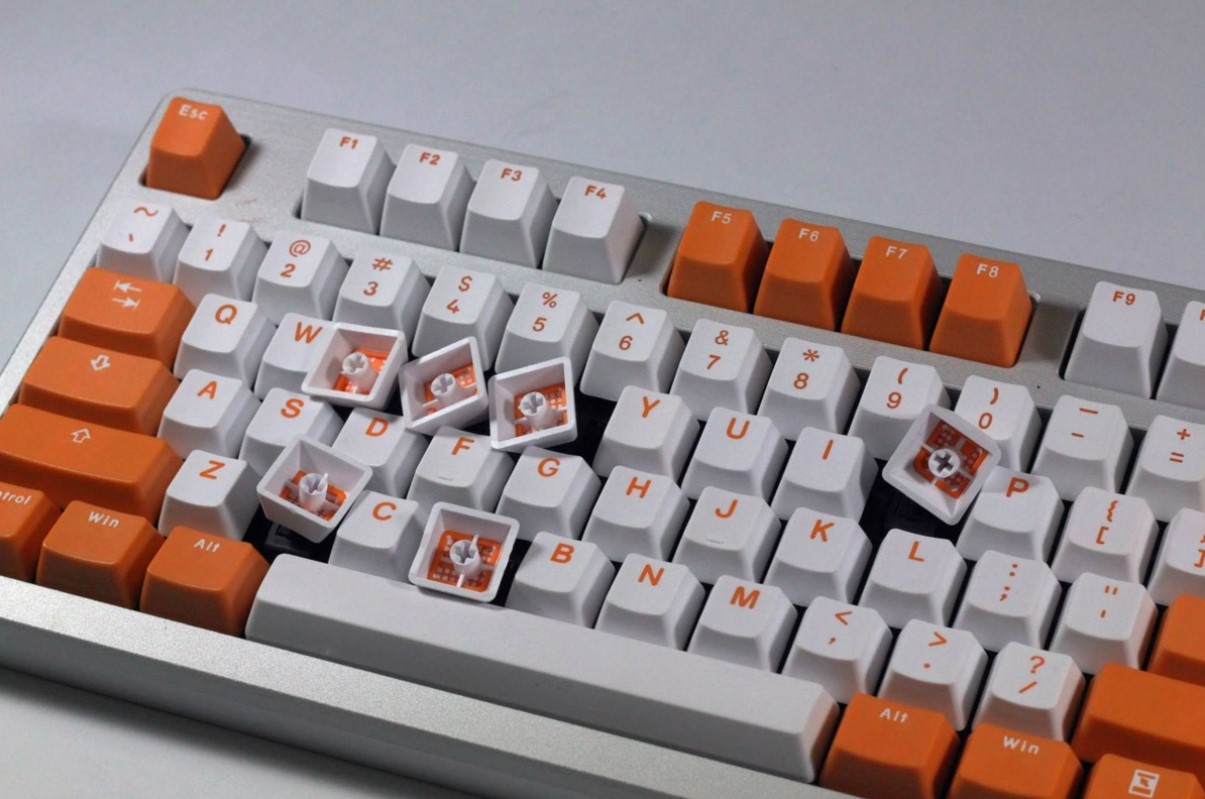
Step 1: Take Off The Keycaps From Your Keyboard
Removing the keycaps from your keyboard is a simple and even therapeutic step. To do this, use a keycap puller by pushing it straight down onto the keycap and then pulling it up in a smooth motion. Each keycap doesn’t require much force to be removed, but it may weigh more than your keyboard, so place your other hand on the keyboard to prevent it from lifting up, and apply consistent force as you pull straight up. Avoid pulling at an angle to prevent damaging the switch.
There are two types of common keycap pullers: the small plastic ones and the longer metal ones. For the small plastic puller, keep the puller arms on opposite sides of the keycap and remove it easily.
If you’re using a metal wire keycap puller, the most straightforward way to take off your keycaps is to slide it straight over the keycap and then slightly rotate it so that the wire arms are beneath opposite corners. This technique may be slightly more challenging than using a plastic keycap puller, but after a few tries, it can be a quicker and easier method.
Now it’s the time to remove your keycaps.
Several of the larger keys on a keyboard may have stabilizers attached to them. Typically, these stabilizers consist of a bar that connects to the left and right sides inside the keyboard. The bar then bends upwards to connect to two plastic inserts that go into the keycap. Common keys that usually require stabilizers include the backspace key on the number row, both shift keys, the enter key, the space bar, the plus symbol on the number pad, and the enter key on the number pad. When pulling up on the keycap, the small plastic inserts in most instances will come out easily, but with older Das Keyboard models, the inserts won’t come out. If this happens, you may have to angle the keycap and detach it from the stabilizer bar.
Step 2: Clean Your Keyboard
After removing all the keycaps from your keyboard, you’ll have a rare opportunity to clean out any dust or debris that may have accumulated between the switches.
Begin by removing the stabilizer inserts from the stabilizer bars to prevent them from getting lost. It’s recommended that you gently shake the keyboard upside down to dislodge any debris, followed by using an electronics-friendly air duster can like emzone to blow away the remaining particles.
Once you’ve sprayed the keyboard with the air duster, take a microfiber cloth and clean between the switches even more, and spray again if necessary.
Step 3: Connect the large keys with stabilizers
If your keyboard has Cherry stabilizers and your large keys do not have stabilizer bars or inserts, then this step is straightforward. Simply align the keycap with its switch and press down until it clicks into place.
However, for those with stabilizer bars and inserts, this step may be more challenging. One helpful tip is to insert the stabilizer inserts into the keycaps with the longer end pointing towards the back of the keyboard, towards the F1-F12 keys. This will prevent the keycap from rubbing against the neighboring keys.
If you have disconnected the stabilizer bars, be careful to reattach them in the correct orientation. The angled part of the bar should provide the necessary space for the bottom of the switch.
There are two techniques that can make this step easier. If you find it easy to disconnect a stabilizer bar from the keyboard, it might be better to insert the stabilizer bar and inserts into the keycap first and then clip the stabilizer bar back into the keyboard with the keycap attached. Hold the keycap up with the inscription facing you and use your fingers to maneuver the stabilizer bar into the correct position and snap it into place. Keep in mind that the part of the stabilizer bar that clips into the keyboard can only fit in one direction to ensure that the angled part of the bar provides the necessary space for the bottom of the switch.
In case you encounter difficulty in removing the stabilizer bar from the keyboard, it might be easier to insert both stabilizer inserts into the keycap first. Then, tilt the keycap slightly backward with the letter facing you and insert one side of the stabilizer bar into the plastic insert. After that, use diagonal pressure on the already connected insert to create room for the other side of the bar to fit into the insert, so it is entirely connected. You can watch a clip demonstrating how to angle the keycap inserts to connect the large keys to your stabilizer bar in this way.
Step 4: Add the remaining keys to your keyboard
This step is a straightforward process where you simply press each keycap down onto the corresponding switch. To make it easier, you can start from the top left with the escape key, then move on to the F1 key, and so on, working through one row of keys at a time.
However, if the keycaps are not in order or facing the right direction, it may be challenging to know which way they should go, especially for keys like the arrow keys. To determine the correct orientation, look for the side of the keycap that slopes downward, which should face the back of the keyboard towards the F1-F12 row of keys. Additionally, the front of the keycap is usually at a straight 90-degree angle, while the bottom is typically slanted towards the front of the keyboard.
Step 5: Experience your new and improved typing experience
Congratulations, you have successfully installed your new keycaps and can now get back to typing! If you ever want to switch to a different set of keycaps, you now have the knowledge to do so quickly and easily. Keep in mind that the type of material used for the keycaps, such as rubber, ABS, or PBT, can affect both the feel and sound of your keyboard. Experiment with different options and enjoy the process of customizing your keyboard to your liking. Best of luck and happy typing!
Visit our website https://keycapscustom.com/ to looking for the type of keycaps that fits your keyboard. Here you can also find out our newest collection of keycaps such as Artisan keycaps, Anime keycaps, Pokemon keycaps, Backlit keycaps, etc.