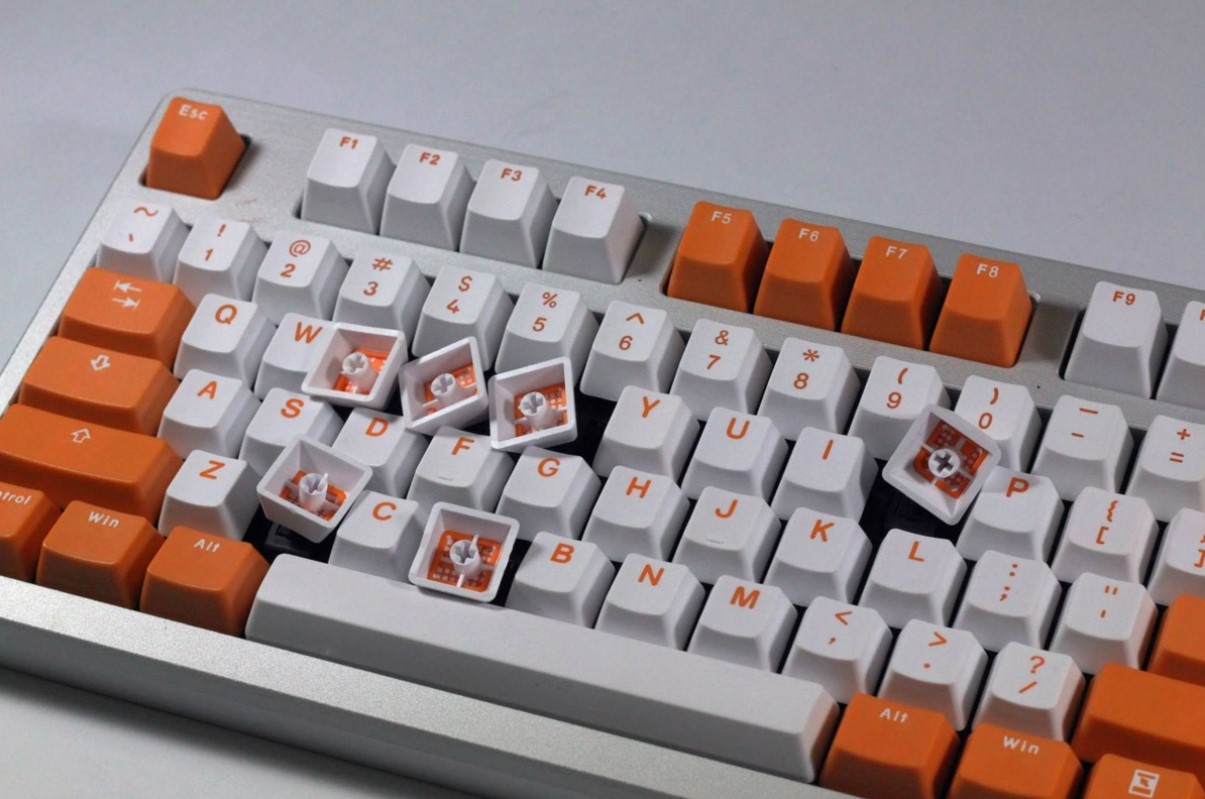
How To Make Custom Keycaps Resin?
In this article we will tell you the way to make custom keycaps resin from A to Z. Let’s go!
What Are Resin Keycaps?
Resin keycaps are custom keycaps made from resin material. Resin is a type of synthetic material that is created through a chemical process, and it can be used to create a variety of different objects, including keycaps for mechanical keyboards.
Resin keycaps are popular among enthusiasts who want to customize the look and feel of their keyboard. They are available in a variety of shapes, sizes, and colors, and they can be designed with different patterns and textures. Resin keycaps can also be made to resemble other materials, such as wood, stone, or marble.
One of the benefits of using resin to make keycaps is that it is a versatile material that can be molded into many different shapes and designs. Additionally, resin keycaps are often more durable and long-lasting than other types of custom keycaps, which makes them a popular choice among avid keyboard enthusiasts.

How To Make Custom Keycaps Resin?
Making custom keycaps using resin is a fun and creative way to customize your mechanical keyboard. Here are the steps to make custom keycaps using resin:
Materials needed:
- Resin (such as epoxy resin)
- Mold (silicone mold or 3D printed mold)
- Pigment powder or liquid dye
- Mixing cups and stir sticks
- Release agent (such as mold release spray or petroleum jelly)
- Sandpaper (400 grit and 1000 grit)
- Protective gloves and goggles
- Heat gun or butane torch (optional)
Steps:
- Choose or design your keycap shape and create a mold for it. You can use a silicone mold or 3D print a mold.
- Apply release agent to the mold to make sure the resin doesn’t stick.
- Mix the resin and pigment or dye in a mixing cup according to the manufacturer’s instructions. Make sure to wear protective gloves and goggles.
- Pour the resin into the mold slowly, making sure to fill it to the top. You can use a heat gun or butane torch to remove any air bubbles that may have formed.
- Let the resin cure according to the manufacturer’s instructions. This usually takes a few hours or overnight.
- Once the resin has cured, remove the keycap from the mold. If the keycap is stuck, gently twist the mold to release it.
- Sand the keycap using 400 grit sandpaper to remove any rough edges or imperfections. Then use 1000 grit sandpaper to smooth the surface.
- Repeat the process to make additional keycaps if desired.
- Once you have all your custom keycaps, you can install them on your mechanical keyboard and enjoy your unique and personalized setup!
Visit our website https://keycapscustom.com/ to looking for the type of keycaps that fits your keyboard. Here you can also find out our newest collection of keycaps such as Artisan keycaps, Anime keycaps, Pokemon keycaps, Backlit keycaps, etc.

