How to Remove Keycaps Without Tool?
Before learning how to remove keyboard keys, the most effective way to clean a keyboard is to remove the keycaps. Removing the keycaps allows you to see the dirt and other debris that may have been lodged inside the keycaps. Being able to remove the keycaps can be beneficial, and once done, you’ll be able to utilize tools like compressed air to easily clean up the debris. So, how to remove keycaps without tool? In this article we will show you all.
How To Remove Them Out Of Membrane Keyboard
Membrane keyboards are now among the most widely used keyboards. They are also known as rubber dome keyboards because they rely on a rubber dome to provide a response to a keystroke. One of the most important features that makes it a wonderful selection is that it is best suited for budget-conscious consumers.

Before you start cleaning your membrane keyboard and removing the keycaps on your membrane keyboard, make sure you have the following items on hand.
Of course, professional keycap removal will necessitate the use of screwdrivers and keycap pullers. However, for the sake of this essay, we will look at how to remove keycaps without tool. That is precisely why we shall employ home objects for the purpose.
In the case of a membrane keyboard, however, you will need a screwdriver to remove the keycaps. We recommend using a Philips screwdriver for this task. It would be impossible to remove the keycaps on a membrane keyboard without first removing the screws on the rear of the keyboard. In essence, you will be unable to remove the keycaps from a membrane keyboard without the assistance of a tiny instrument such as a screwdriver, or at the very least a household item such as a spoon!
Follow the steps outlined below to know how to remove keycaps without tool:
- Turn your keyboard on its side
- Remove the screws on the back of your keyboard using the screwdriver.
- Your keyboard should now split in two. If it doesn’t, you can pry them out with a credit card or equivalent wedge. The snapping sound should serve as evidence that the two parts have been separated.
- Separate the two parts. The bottom section may be separated because it is not required for removing the keycaps.
Take care not to touch or manipulate the bottom section in any way. It contains critical electronics that can be destroyed.
Before you remove the keycaps, snap a picture or preserve a user manual with an image of the keycaps in place. You don’t want to be certain about the positioning of the keycaps until you’ve finished cleaning.
Remove the keycaps one at a time with a credit card or a paper clip. Make sure you’re not pressing it too hard, or you’ll wind up harming them or the components beneath them. They should readily pop up with a little effort.
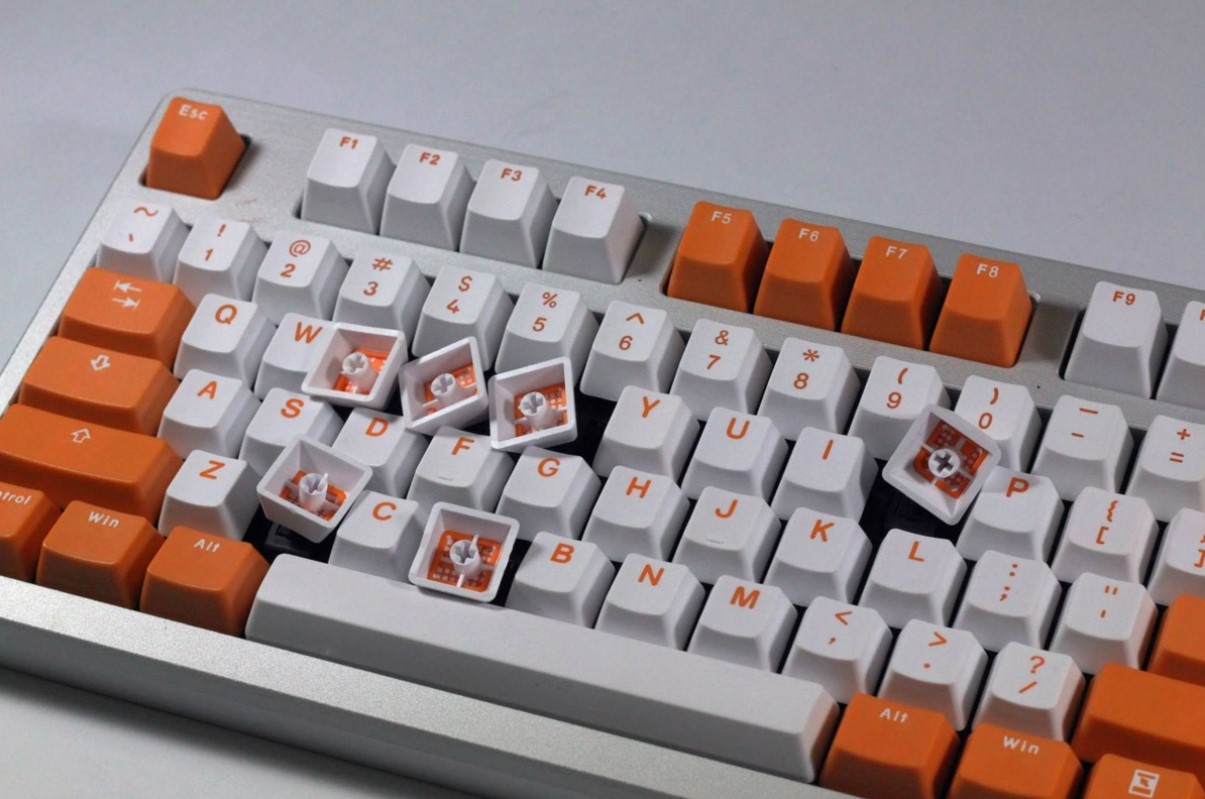
How To Remove Them Out Of Mechanical Keyboard
These are the finest keyboards for anyone looking for the best alternatives for a gaming keyboard or to improve their keyboard experience. These keyboards have key switches located beneath each key. Mechanical keyboards include keycaps that display the number, letter, or symbol that you press when typing.
Below the keycap is a stem that descends when the keycap is pressed, followed by a housing that holds everything together. When you push the keycap, the spring-loaded switch activates the PCB’s specific circuitry and registers the keypress. Mechanical keyboards offer numerous advantages and have historically been the finest gaming keyboards.
To remove the keycaps on a mechanical keyboard, you will need a keycap puller under optimum conditions. While some keyboards have a keycap remover, others may not include one as part of the sales package.
However, because we are interested in how to remove keycaps on a mechanical keyboard without tools, we will use a paper clip, credit card, or similar wedge.

Follow the instructions below to learn how to remove keycaps without using a tool.
- Place the keyboard you wish to remove the keycaps from on a clean, dry surface on your workbench.
- To remove the keycaps, use a bent paper clip or a credit card.
- You may even utilize objects like a home key, a knife, or a hammer. If you have a PV porthole from an old PC chassis, you may utilize it. The goal is to apply equal pressure in the upward direction on both sides of the key.
- Pull the keycap up with equal pressure. Make certain that you are not bending the keycap in a single way.
- The keycap should detach from the switch below and fall out.
If your keyboard contains LED lights, you should take particular care not to harm them. It is recommended that you switch off the light and unplug it.
Removing keycaps on a mechanical keyboard is considerably easier and simpler than on a membrane keyboard. One of the finest features is that you don’t have to open the keyboard as you would with a membrane keyboard. Even without opening the keyboard or handling the PCB, you may easily remove the keycaps.
Another advantage of a mechanical keyboard is that you may clean up only a certain group of keys if you do not want to remove all of the keycaps. If you have any stuck keys that need to be handled, this might be one of the practical answers.
>> Wanna see more beautiful and reasonable custom keycaps? Visit https://keycapscustom.com/